Have you heard yet about the movement to decorate windows to brighten communities, giving families something to see when they take walks around their neighborhoods?
My family has been busy over the last week decorating our windows and trying out different techniques, so I thought I'd share with you five of our favorites:

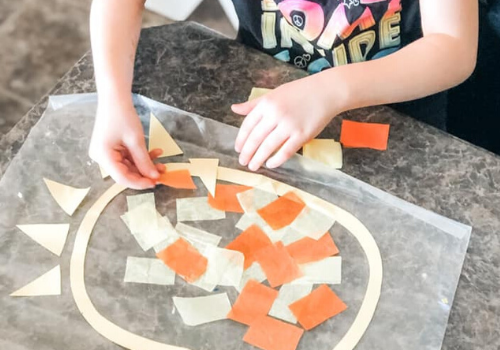
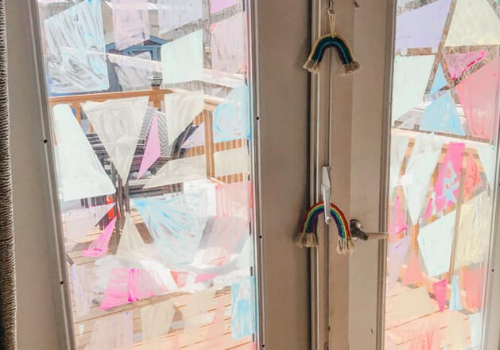
Stained glass tissue paper
Supplies:
- Tissue paper
- Scissors
- Construction paper
- Con-Tact semi-transparent liner (clear matte or glossy) or a laminator
Directions:
- Cut shapes from construction paper and lay it on the Con-Tact paper.
- Add tissue paper.
- Add a second layer of Con-Tact paper.
- Trim excess.
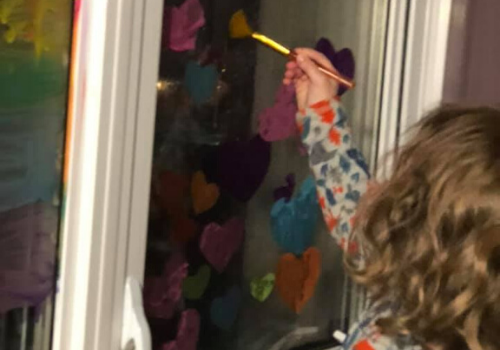
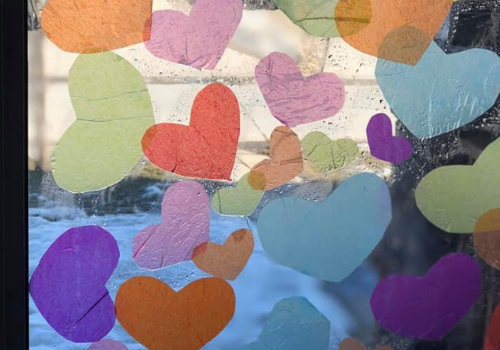
Tissue hearts on windows
Supplies:
- Tissue paper
- Scissors
- Paint brushes
- Water
- Oil
Directions:
- Cut shapes from tissue paper.
- "Paint" the windows with water and stick the tissue paper shapes to it.
- Go back over with oil. (This is to keep the hearts 'wet' as the tissue will fall off if they dry. I didn't trust my kids not to spill the oil all over the carpet, so I did this part when they were done!)
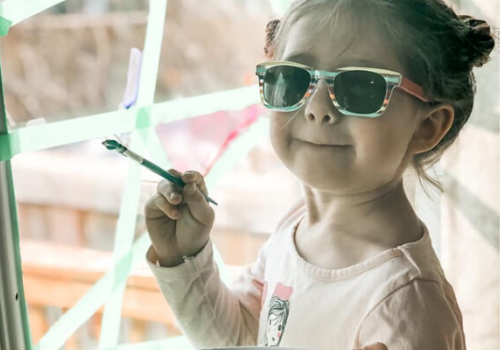
Painting the windows
Supplies:
- Tempura paint or other washable paint
- Dish soap
- Paintbrushes
- Painters tape (optional)
Directions:
- Mix two parts tempura paint and 1 part dish soap. (Adding the soap makes it easy to wash off.)
- Use painters tape to create shapes.
- Paint in the shapes!
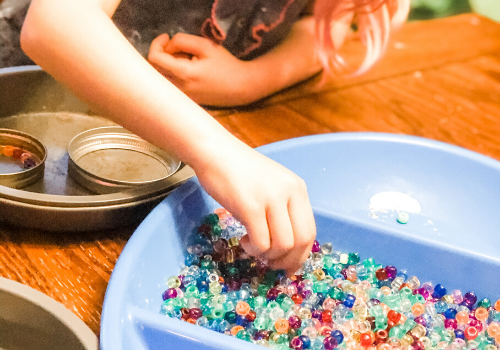
Melted pony bead sun-catchers
Supplies:
- Clear and colored plastic pony beads
- Metal jar lids, cookie cutters, or small disposable pie pans
- Cookie sheet
- Fishing line or string
Directions:
- Preheat the oven to 400 degrees F.
- Put the metal jar lid, cookie cutter, or disposable pie pan on a cookie sheet.
- Fill the body of the lid or other item with pony beads.
- Bake for 30 minutes or until the beads have melted together.
- Let cool, but remove lids from the sun catchers quickly unless you want to leave them on as "frames."
- Use a paperclip to poke a hole for thread. If it's cooled too quickly to poke a hole (which happened to me) you can make a hole with a small drill bit.
- Thread the sun catcher with a string. You can add extra beads to your string for embellishment!
Pro Tip: You are melting plastic and it WILL smell. I suggest turning on your exhaust fan immediately and sending the kids outside to play while they bake, if you can. Better yet, if you have a toaster oven/convection oven that you can take outside, use that! This is what I've done previously, but I was impatient and used my oven... I regretted it immediately. Thankfully the smell left a few hours later!

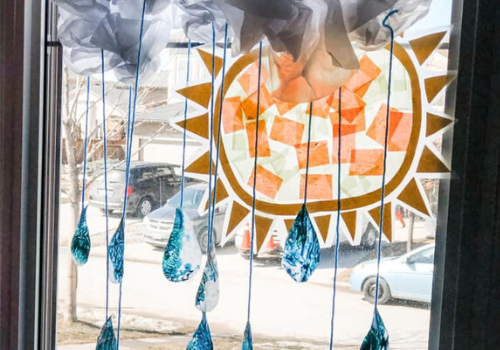
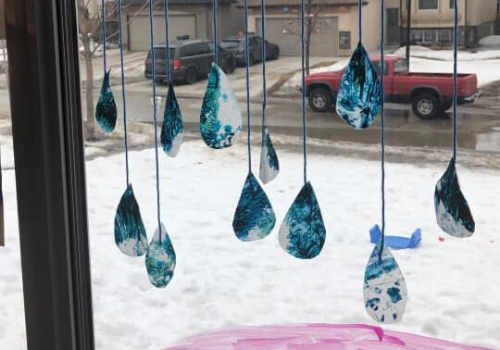
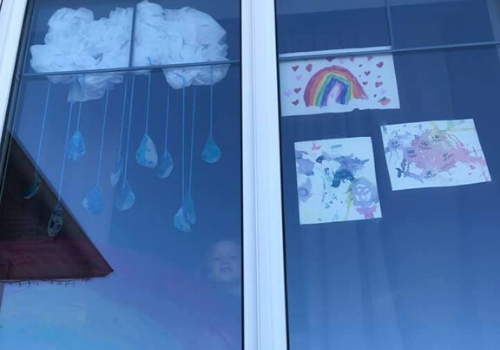
Wax paper and melted crayon raindrops with tissue clouds
Supplies:
- Tissue paper
- Wax paper
- Blue crayon
- Yarn
Directions:
- Cut a cloud shape from tissue paper and tape to window.
- Use a pencil sharpener or knife to shave the blue crayon (best for an adult to do!).
- Put the shavings onto a piece of wax paper and fold the paper over the shavings.
- Use a hot iron and melt the crayon pieces between the wax paper (again, best for an adult to do!).
- Once cooled, cut into raindrop shapes and hang with yarn from your tissue paper cloud.
Watch this Facebook video where we explain how to do the raindrops!
Carmen Kaethler is the publisher of Macaroni Kid Winnipeg in Canada.